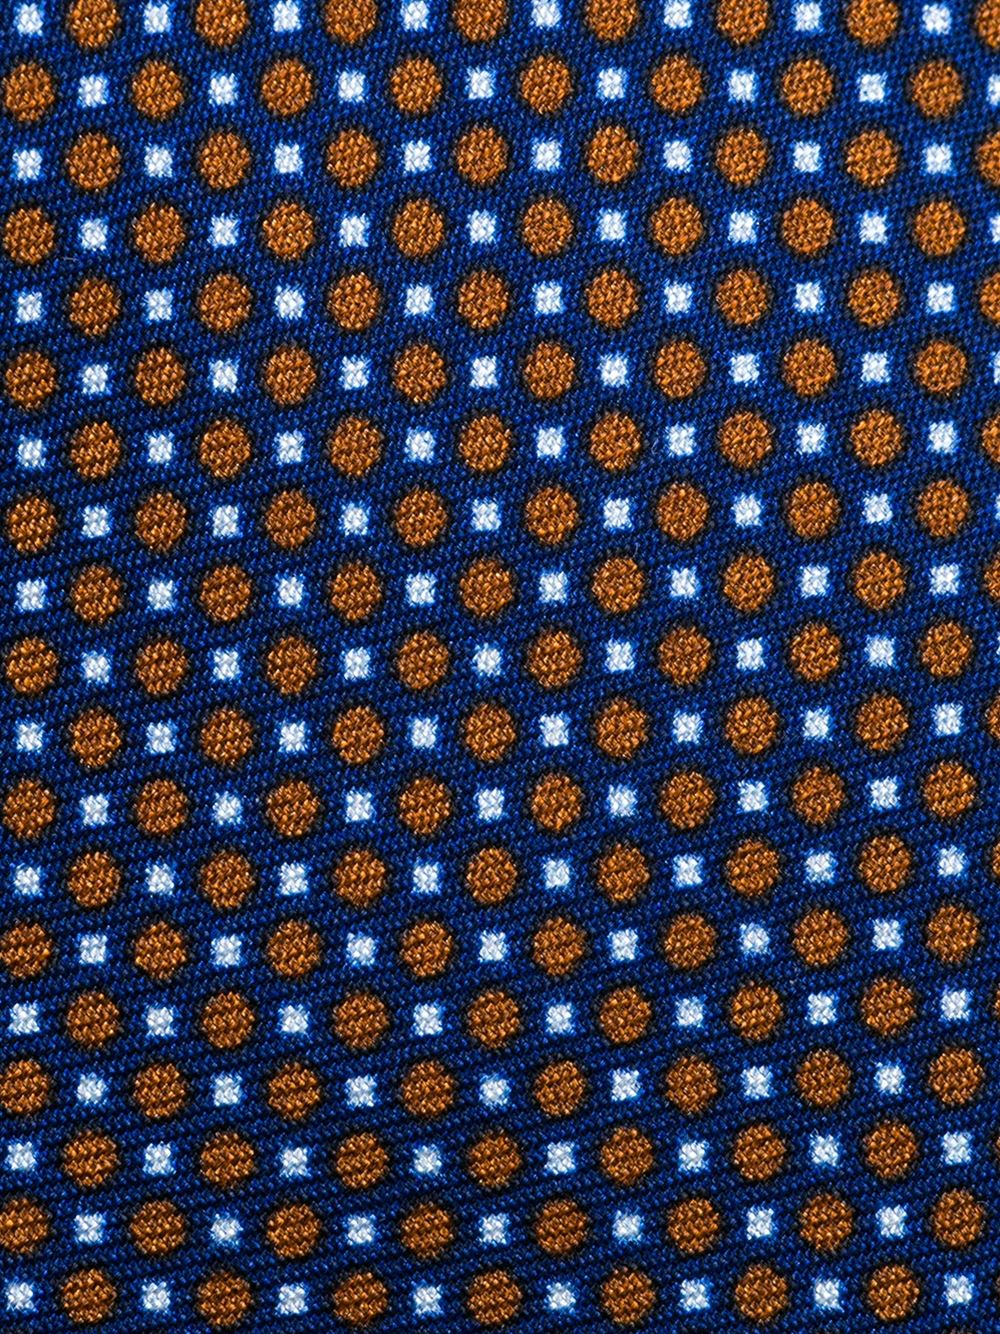
Custom Tie Pattern Tutorial with Illustrated Guide
This Custom Tie Pattern Tutorial provides a comprehensive and illustrated guide on how to create your own custom tie patterns. Whether you’re a fashion designer, tailor, or just someone who loves to customize their own wardrobe, this tutorial is for you. The illustrated guide includes step-by-step instructions, photos, and diagrams to help you create your own unique tie pattern. From choosing the right materials to sewing the pattern onto your tie, this tutorial covers it all. By the end of this tutorial, you’ll have learned the essential skills needed to create your own custom tie patterns, adding a personal touch to your wardrobe.
In this comprehensive guide, we will teach you the art of customizing your own tie patterns. From selecting the right fabric to advanced styling techniques, we’ve got you covered. By the end of this tutorial, you’ll be able to create ties that complement your individual style and wardrobe. Let’s get started!
1. Choosing Your Fabric

The first step is to select the right fabric for your tie. Ties are typically made from either silk, cotton, or synthetic materials. Silk offers a sleek and elegant look, while cotton is more breathable and casual. Synthetic materials, such as polyester, are a more affordable option that still manages to look sleek. Consider your lifestyle and the occasions you’ll be wearing your tie before making a decision.
2. Determining Your Pattern
Once you’ve chosen your fabric, it’s time to decide on a pattern. Popular choices include solids, stripes, patterns, and logos. If you’re feeling adventurous, you can explore geometric patterns or unique color combinations. Remember, the pattern you choose should complement your wardrobe and personal style.
3. Measuring for Your Tie
Before cutting into your fabric, it’s essential to measure for your tie. You’ll need to determine the length and width of your tie. A standard men’s tie should measure approximately 59 inches in length and 2.5 to 3 inches in width. However, these measurements can vary depending on personal preference and the style of tie you’re aiming for.
4. Cutting Your Fabric
Now it’s time to cut your fabric into the desired shape and size. You’ll need a pair of sharp scissors or a rotary cutter for this step. Make sure your measurements are accurate so that your tie turns out looking professional.

5. Sewing Your Tie
Once your fabric is cut, it’s time to sew it together. You’ll need a basic sewing kit with thread and a needle. Start by sewing the two long edges of your tie together, then finish by sewing the ends closed. Be sure to use a strong thread and a needle that matches the thickness of your fabric.
6. Styling Your Tie
Now that your tie is ready, it’s time to style it. There are countless ways to wear a tie, so feel free to experiment until you find a look that suits you. Some popular styles include the basic knot, the Windsor knot, and the Pratt knot. You can also get creative and try tying your tie into a bow or even a heart shape for a unique look.
Conclusion
Customizing your own tie is a great way to add a personal touch to your wardrobe. By following this tutorial, you’ll be able to create ties that complement your individual style and occasions you’ll be wearing them. So get creative and have fun with it! Experiment with different fabrics, patterns, and styles until you find the perfect tie for you.
Articles related to the knowledge points of this article::
Title: Customizing Your Personal Style with海南领带订购服务
Custom-made Tie JKs: Fashion Statement and Sign of Identity
Custom Tie Tutorial: How to Create the Perfect Tie
Title: The Art of Wearing a Tie with a Suit: A Guide for Foreigners


